I greatly recommend the Grammarly extension for Google Chrome, it is great for accessibility and checking your work. Grammarly picks up spelling, grammar errors and provides options to replace words that are highlighted.
Instructions here will provide screenshots on how to embed Grammarly to chrome, and instructions on how to use it.
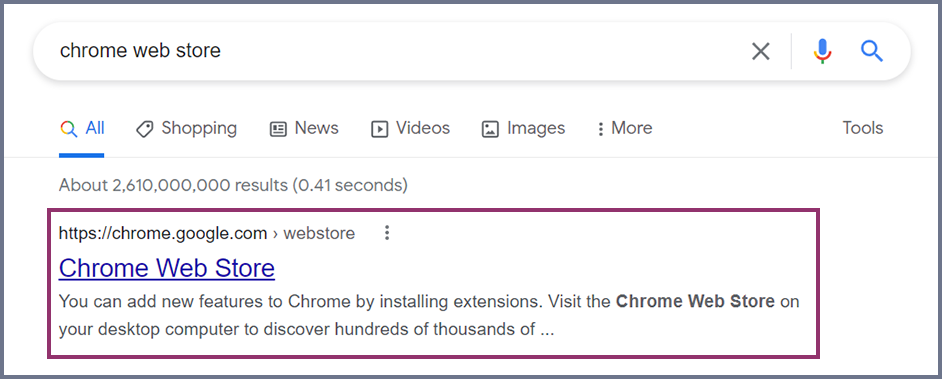
Within your Chrome browser, type chrome web store.

Click the link, ‘Chrome Web Store’.
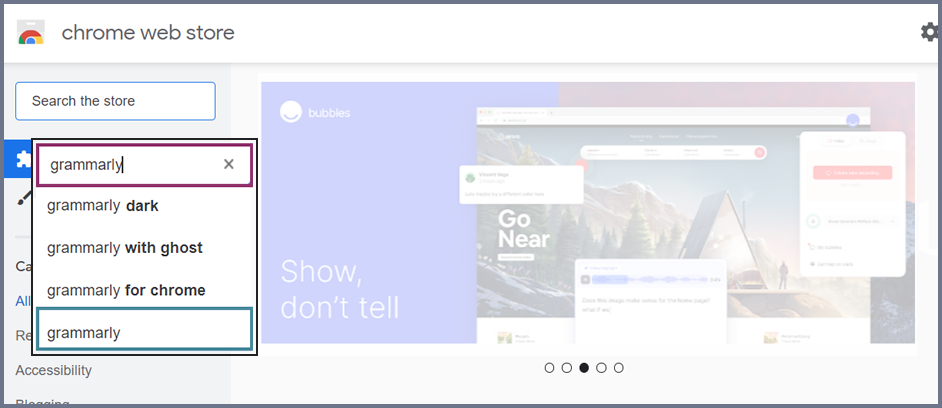
In the search box, ‘Search the store’, type Grammarly.
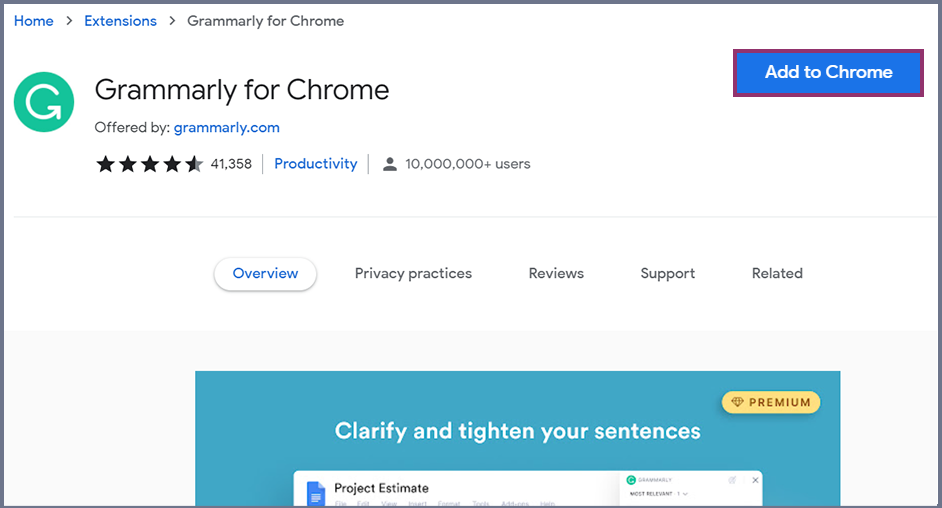
Click the link, ‘Grammarly for Chrome’.
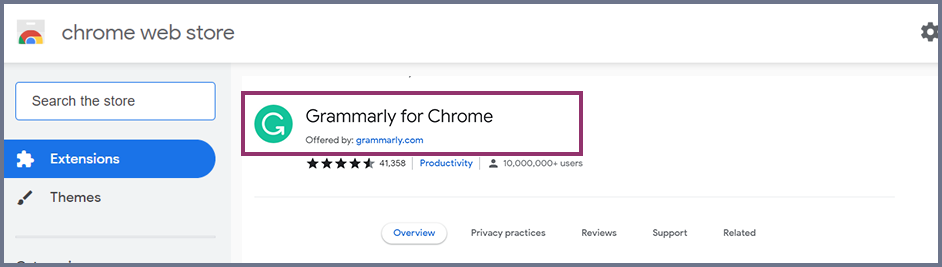
Click the button, ‘Add to Chrome’.
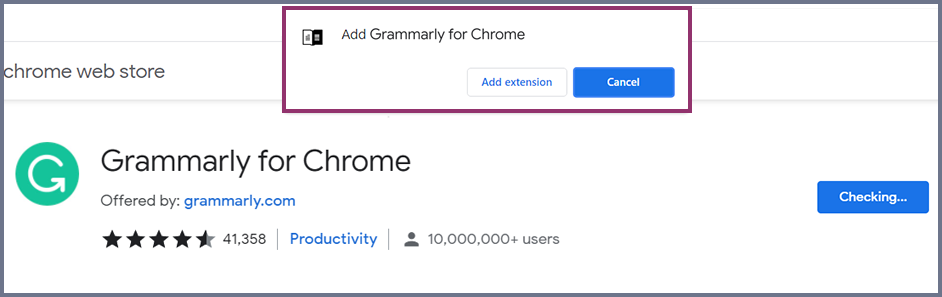
On the popup, click the button ‘Add extension’.
Click ‘Turn on sync’.

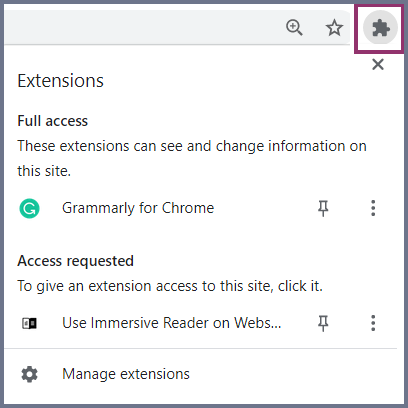
To use Grammarly, click the extension icon on your browser. To attach it to the toolbar, click the pin.
How to use Grammarly.
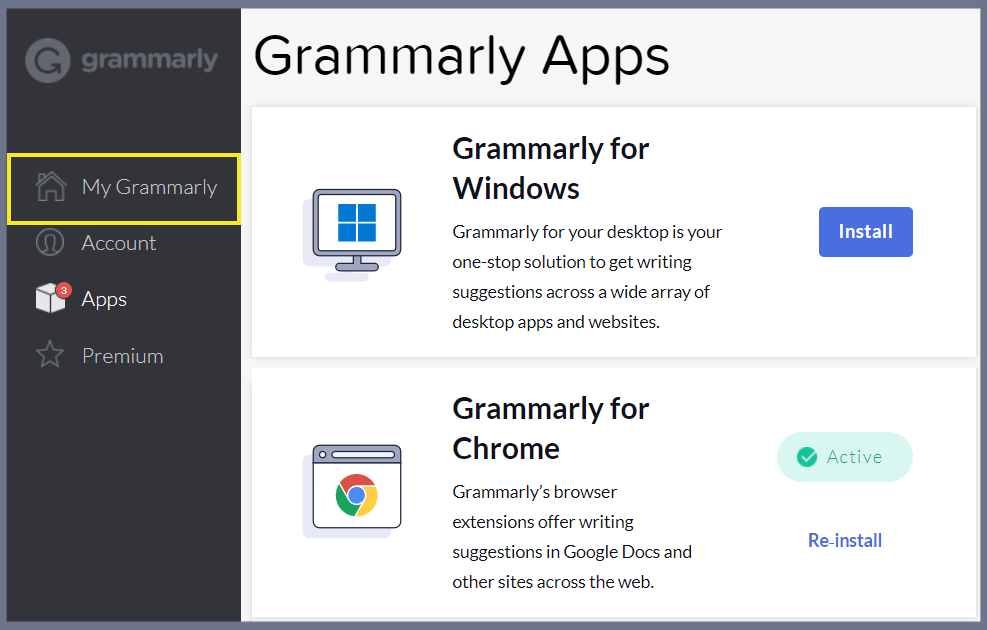
Click ‘My Grammarly’. This will take you to your folder structure. You can search for existing documents or choose ‘New’.
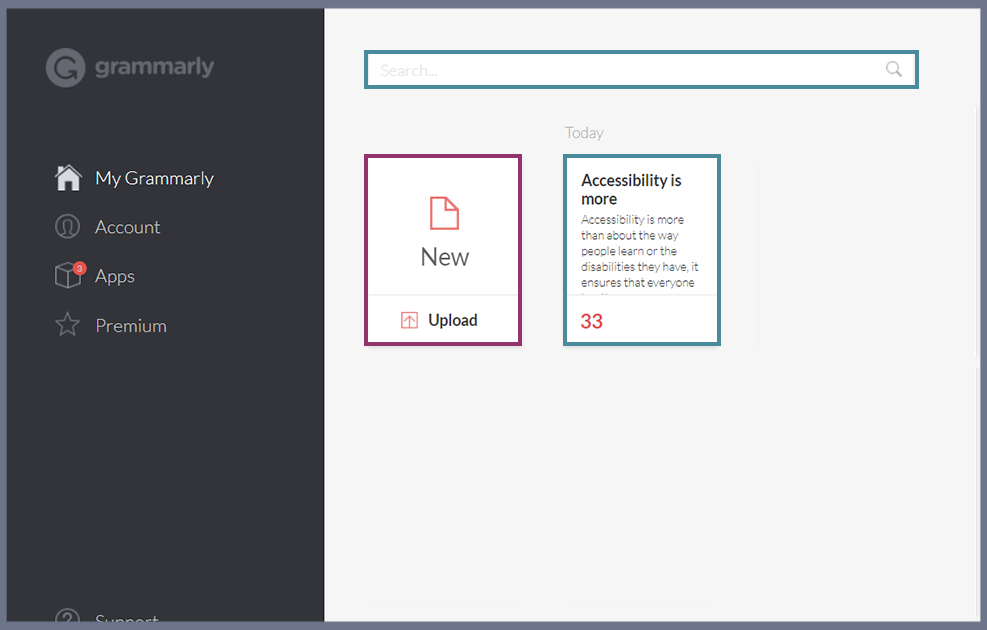
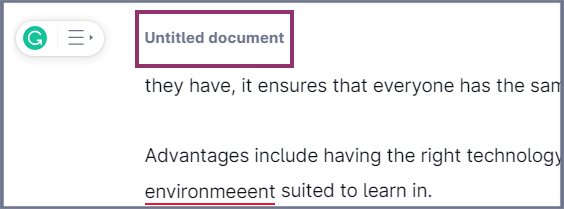
To help with searching, title your document and look at putting the date as part of the title, this may help in searching for the right document.
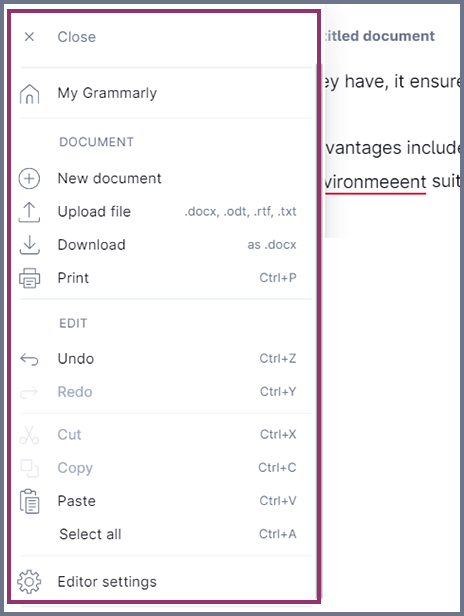
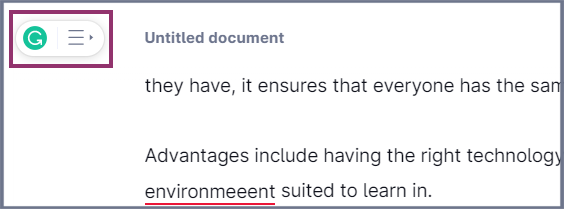
To open the left menu, click on the Grammarly menu icon. This menu has options to download, upload, print and start a new document.
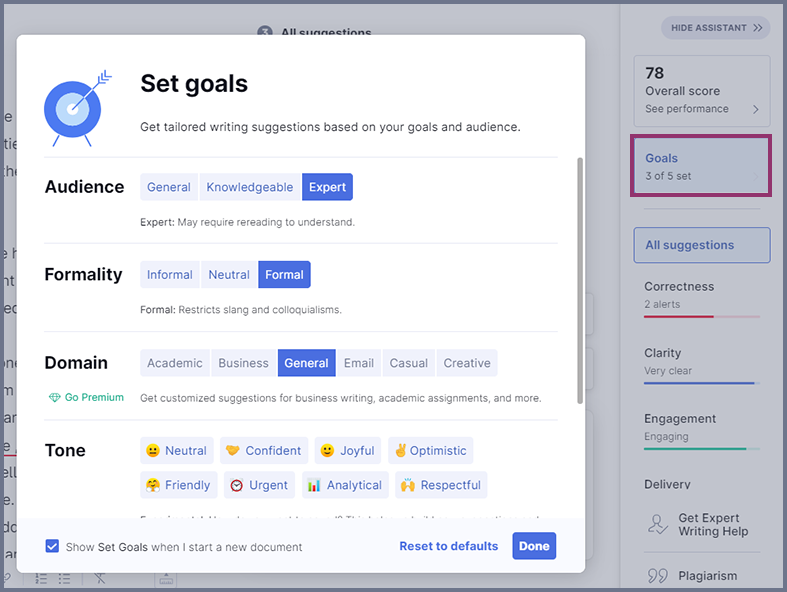
As soon as text is placed on the screen, the ‘Set goals’ section will show. These choices help Grammarly work out the style of text you are wanting in your document.
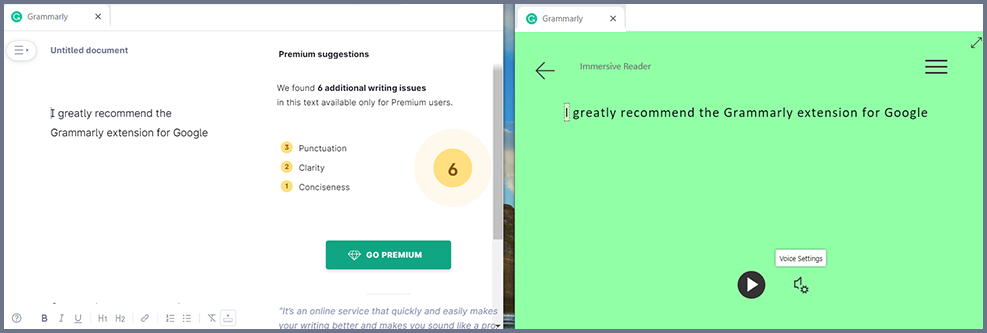
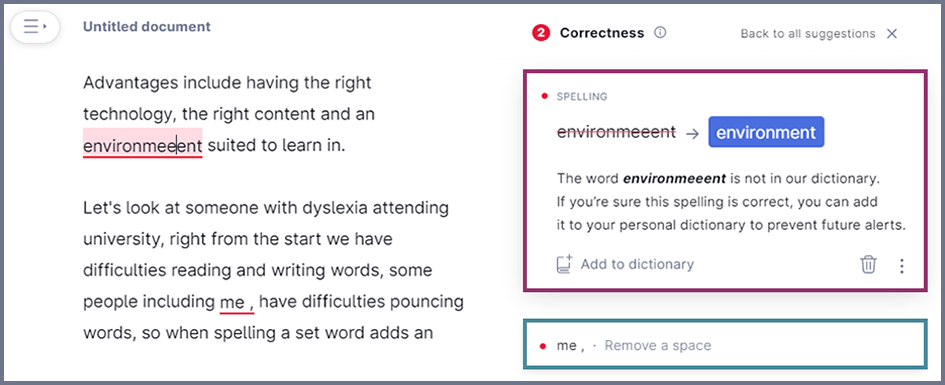
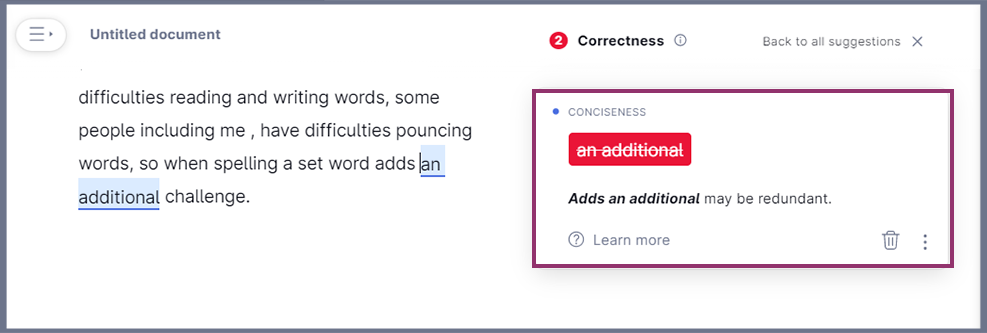
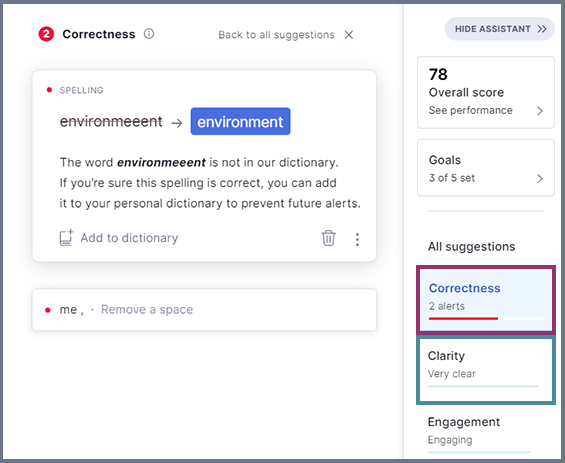
You will be provided with a list of spelling corrections and a list of words that need clarity.
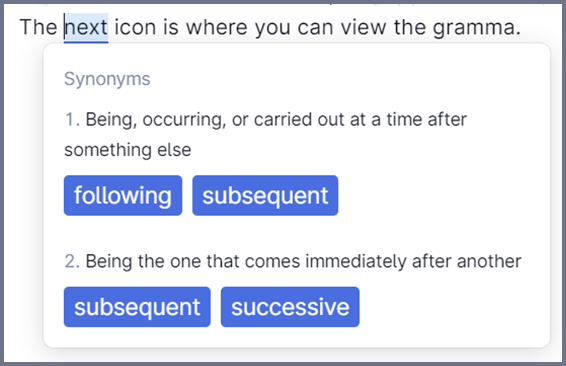
You can double click any word and you will be provided with suggestions. This can help you, by changing words that you have used several times or seeing the meaning of the words.
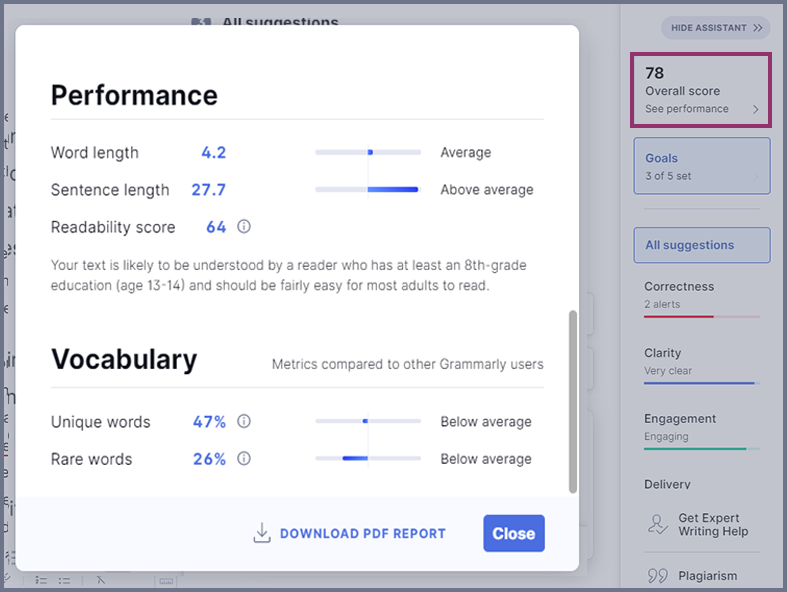
On the right, there is an ’Assistant’ menu.
The Overall score shows you how well your document is doing.
You can reset the goals and change the style.
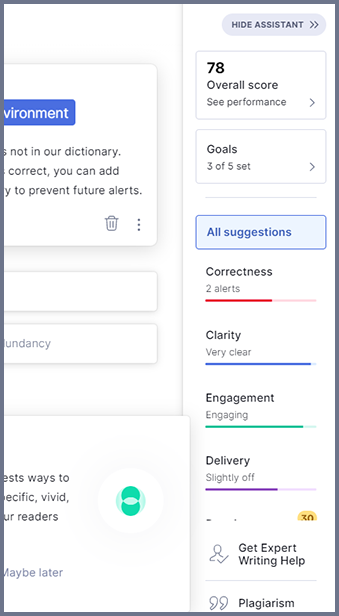
All suggestions include Correctness, Clarity, Engagement and information on going premium.
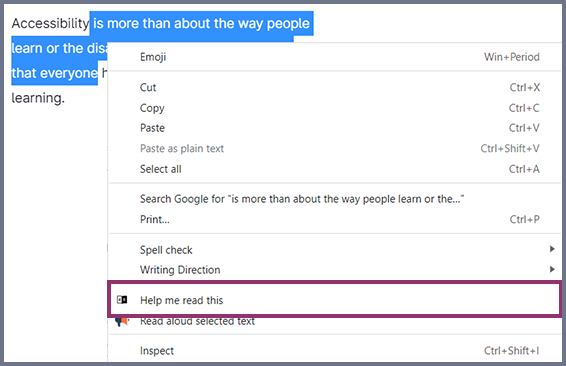
If you are using ‘Immersive reader’, this can be used within Grammarly, sometimes you need to hear the words, to make sure what you have written, is what you are wanting to say.
I do recommend having the same screen open at the same time in two different windows. One to read the content and the other so you can correct it.