This blog will provide instructional information on how to add triggers to a form on Form2, capturing content preloaded within a CSV sheet.
To get the full benefit from this blog, you should already be familiar with:
How to build Form2 forms;
How to add groups in Form2;
How to create Users in Form2 and
How to create a CSV would be an advantage. Links have been provided throughout this blog to Form2 support and additional blogs created if you do not have these skills.
Form2 support “How to build a form”: https://www.formsquared.com/support/
Background
Within our school, this assessment form has been created for assessors to complete, within a station, while the student completes a practical test.
Each section of the form and CSV has been broken down, showing you how each column in the CSV reflects in
the form. This how we set up our pre-population for ISCEs.
Task1
- Have your Form2 form open.
- Have your CSV/Excel sheet open.
The Key
The Key is what Form2 looks for within the CSV without it, the CSV will not work.
Task 2
CSV/Excel
- Place the word ‘Key’ in the first column, top row in the CSV/Excel sheet.
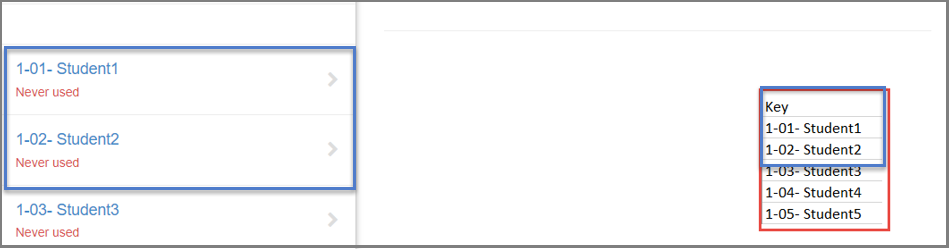
- Within the ‘Key’ column, type a selection of names for testing. Form2 automatically orders lists alphanumerically, but if you wish to control the order of students place 1-01/1-02 in front of the names
- Save the Excel sheet as a CSV file. Name it accordingly, I named my pre-population the same as my Form2 form, with a date, showing the date it was made.
- Try making the names different so you can see the difference when you view the Form2 I used student1 student2 etc.
Form2
- Make sure you have published your Form2 [you’ve started using Form2 instead of Form2. Meaning you should make the above consistent] form. Status – Update status – Publish
- Create a group – add yourself to the group and add the group to the form. (If you do not know how to create a group or how to add users to a group see the blog ‘Form2 Groups’).
Adding pre-population.
You need to add your pre-population to the form.
- Pre-population tab on Form2 form.

Settings
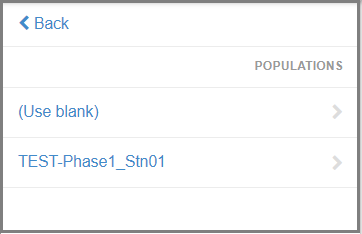
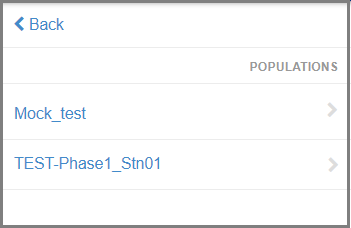
Within our school, we chose to select Compulsory, so assessors are taken directly into the pre-population list. if Optional is used, assessors will be given a list of per-populations to chose from, as seen below.
Within the Settings, set the settings to Compulsory
- Click Configure > change Optional to Compulsory

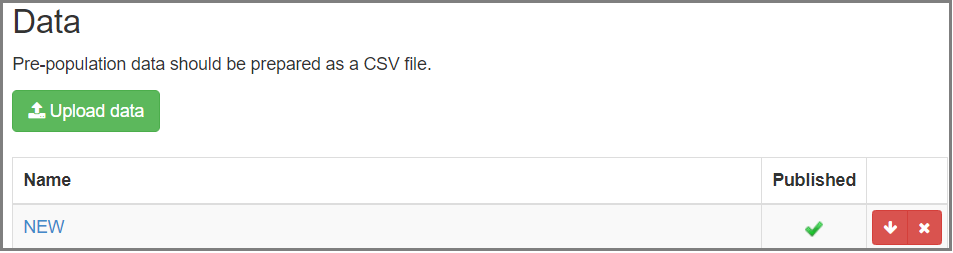
Data
Within the Data area is where the Pre-population is added > update data > select your newly build CSV form >
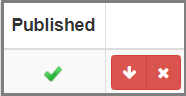
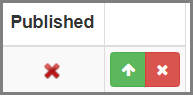
- Publish the Pre-population (Click the green arrow)
Note: If you are unable to view the form after publishing, it may be due to the pre-population not been added or not published. If there is an x under ‘Published’ it means the pre-population had not been published. Click the green arrow to publish.
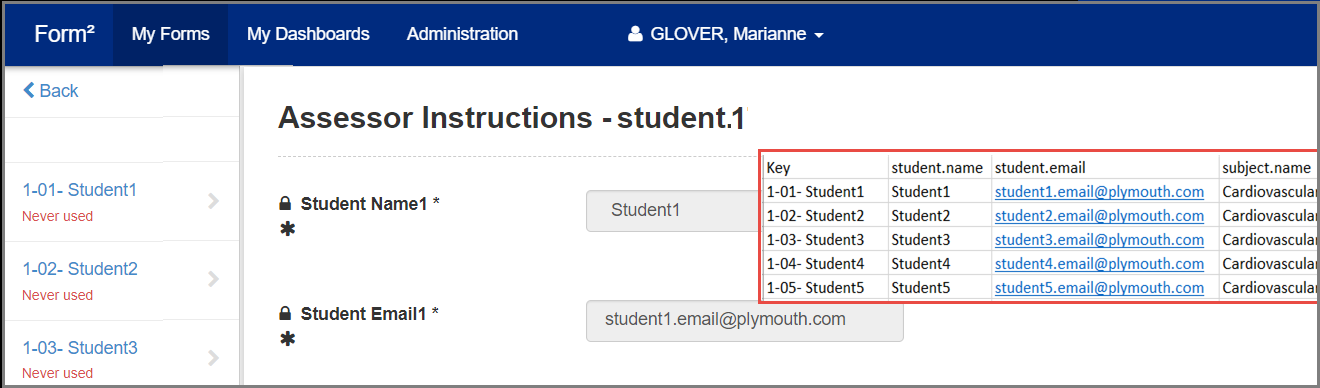
View your form.
Task 3
Student Name: Text box
CSV/Excel
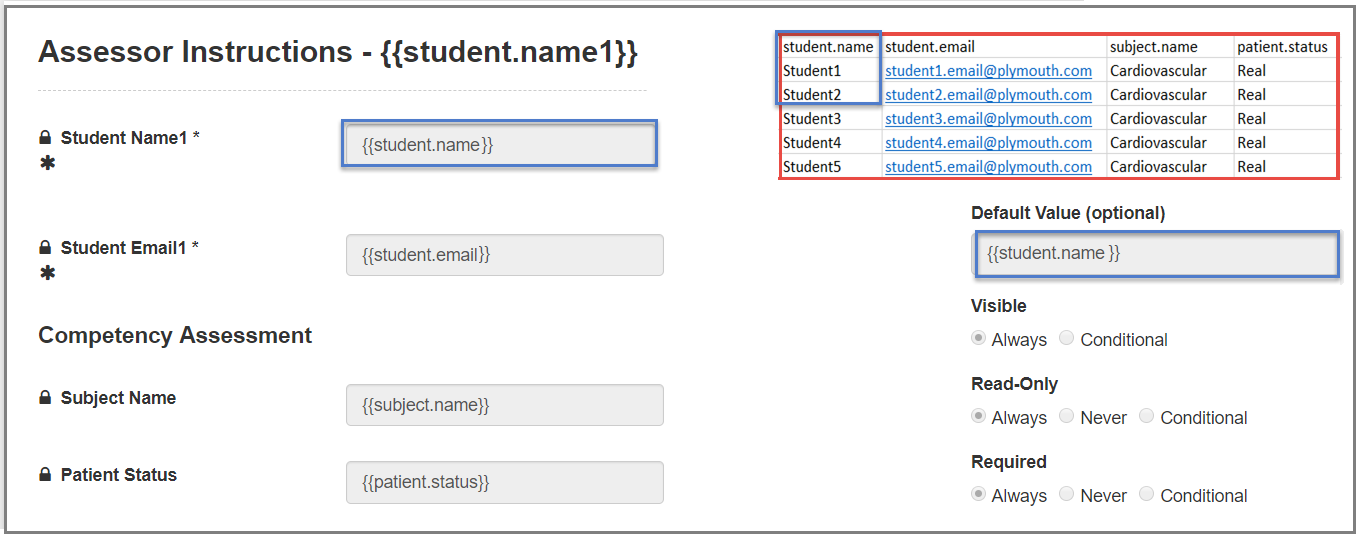
- Within the second column; top row type student.name
- Within the third column; top row type student.email.
- Save your CSV as CSV file.
- Upload it to the form> publish.
Unpublish any additional unused pre-population sheets attached to the form. If you leave pre-population sheets published, a list will be provided to the user.
Form2
- In the editing view of the form, use text boxes to create a student ‘Name’ and ‘Email’.
- Within the ‘Default value box’ attached to student name, (on the right), add {{student.name}}.
- Within the ‘Default value box’ attached to student email, (on the right), add {{student.email}}.
- Save your form, publish.
View your form. If the form is not working correctly, check if you have named used in the CSV and the text boxes the same.
Task 4
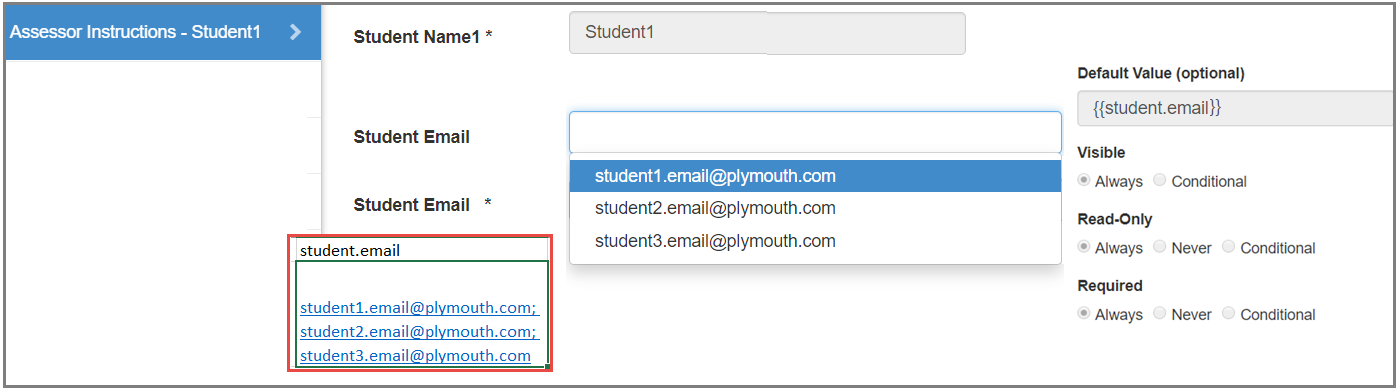
Student Email: Using a Drop-down box.
Sometimes it is useful to have a drop-down box that shows a list compared to a text box, which shows one student at a time.
CSV/Excel
- Within the CSV, to change the content to a list, add all the students’ emails into one cell, separated with a semicolon (;), leave the last email of the list without a semicolon. This will need repeating in each cell on each row.
- Save your CSV as CSV file.
- Upload it to the form > publish. (you may wish to remove the old Pre-population)
Form 2
- Add a drop-down box to your form; add a system name and title.
- Within the ‘Choices (one per line)’ add {{student.email}}.
- Save your form > publish.

View your form
Within our forms and pre-population, we pre-population assessors name and email address; and we add the assessment code, the subject name and the patient’s status.
Task 5
Have a go at adding other fields into your Form2 form and CSV form.
Adding two assessment codes.
Sometimes you may need to add a different assessment code to different students on one form. Within our schools, we do have students doing the same assessment but will be at different assessment code. For Example. If student1 was unwell when the first assessment took place, their assessment code will be different to the rest of the students taking the assessment; this would be classed as their first sitting compared to the other students who may be resitting the assessment, making it their second sitting.

Task 6
Depending on your access, you may be not able to complete this tack. You will need access to be able to add a User.
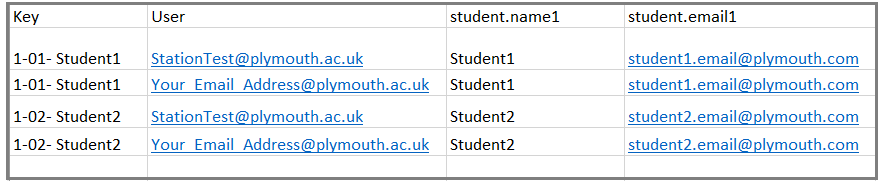
Setting up a CSV and form for a User.
Within Form2, pre-population can be set up so only the User named in the User column in the pre-population can view the form.
- Create a station as a User, (If you do not know how to set up a user see the blog. ‘Form2 – how to create a User).
- Create an additional Group where the station users will be held. Add the station User to the group. (If do not know how to create a group or how to add users to a group see the blog ‘Form2 Groups’).
For this example, I set up the User and called it StationTest. As developers of the form, we need to ensure that the form is visible and works correctly, so we repeat the row and add ourselves as a User. Save the CSV > upload to the Form2 form> Publish.
- Check the form; we should be able to see the form as we did before.
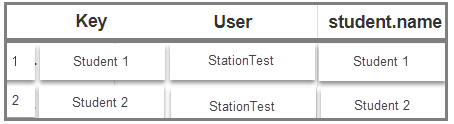
Testing the form as a Station User.
- Remove yourself from the User column of the CSV > Save > upload to the Form2 form > publish and review the live form, if it is set up correctly you should NOT be able to see the form.
- Test the form, by login as the station User and ensure you can view it.
- (If do not know how to create a group or how to add users to a group see the blog ‘Form2 Groups’).
Tip: Three reasons you are unable to view a form
- The form is not Published
- The pre-population is not published
- A group has not been assigned to the form
If you check the pre-population view, within Form2, you will notice that Form2 changes the User details, if you copy this and just place StationTest under the User column, in a new CSV sheet and not the full email address, Form2 will indicate Unknown User.

Now you have reached the end of this blog, feel free to share this blog, your findings, experience and issue you come across while following it.