Added jQuery to your Lectora project, to create an image slider.
I have created this blog entry to help anyone who is struggling to create an image slider in Lectora.
Open and save a new Lectora project.
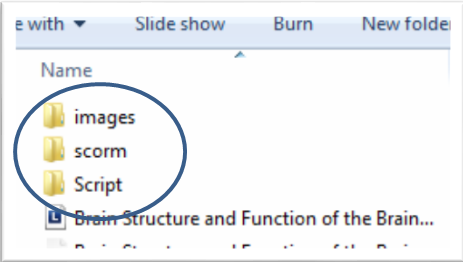
Within the folder structure create a new folder called Script.
You will need to download the following two files and place them in your Script folder (if the files don’t download correctly you will need to copy and paste the content into a DW file and save.)
https://code.jquery.com/jquery-1.11.1.min.js
http://code.jquery.com/ui/1.11.1/jquery-ui.min.js
Once you have your .js files we need to create a ‘my_functions.js’ file, this where the code for the slider will be held.
Creating the ‘my_functions.js’ file in DW
In Dreamweaver copy and paste the following code and save as a .js file, save the file to your Script folder.
// this function is executed on Page Show in Lectora, when the page is opened.
function init_drag_slider() {
//the minimum ‘x’ coordinate of the dragger.
minimumPosition = $(‘.base’).position().left;
//the maximum ‘x’ coordinate of the dragger.
maximumPosition = $(‘.base’).width() – $(‘.dragger’).width();
//making the “dragger” image drag-able
$(‘.dragger’).drag-able({
axis: “x”, //only horizontal movement
containment: “.base”, //contained with the region of the “base” image
drag: function( event, dragger ) { //this function will fired every time the dragger moves
//calculate the dragger position between 0 and 1
position = (dragger.position.left – minimumPosition) / maximumPosition;
//converts it into amount of images you have, where the 100 is, is the amount of //images you have change as required
result = Math.round(position*100);
$(‘.counter span’).text(result);
$(‘.imgslider’).hide();
//targets all instances of .imgslider (included in css classes under appearance in Lectora for //each image.)
$(‘.img’+result).show();
//target .img + result which is the number from the slider – you to add e.g. imgslider //img1/imgslider img2 etc. to each image for the slider to work.
}
});
}
Adding the jQuery
Once you have set up your folder and files, add an HTML External object to you project, which is in the insert tab, HTML External.

Select the HTML External object and within properties and under ‘Type’ select Meta tags.
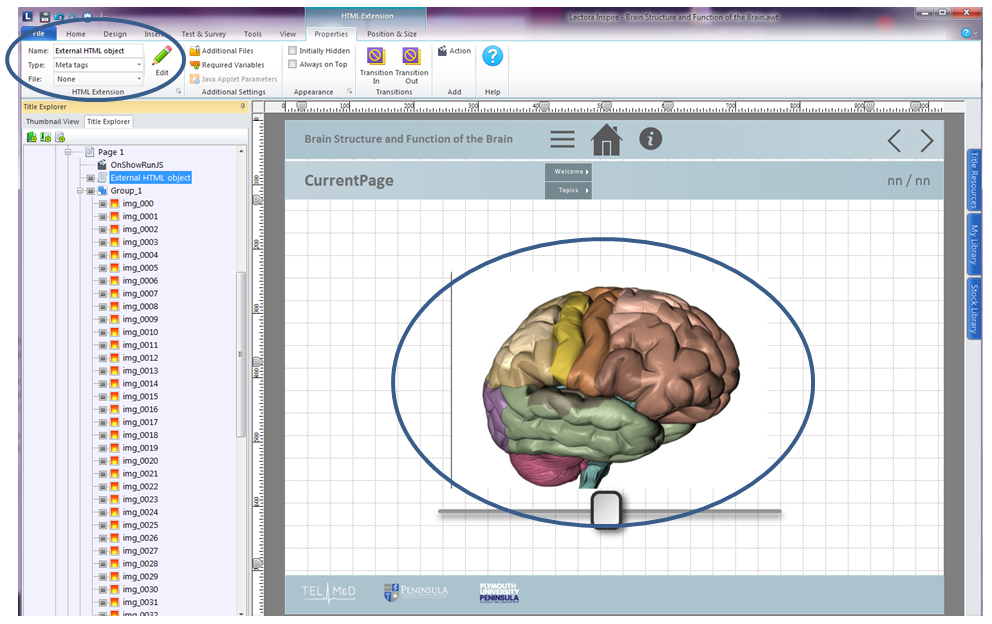
Click on the Edit and add the following lines, this will call in the files.
If you wish to run the scripts from an external server all you need to do is add the external code shown below.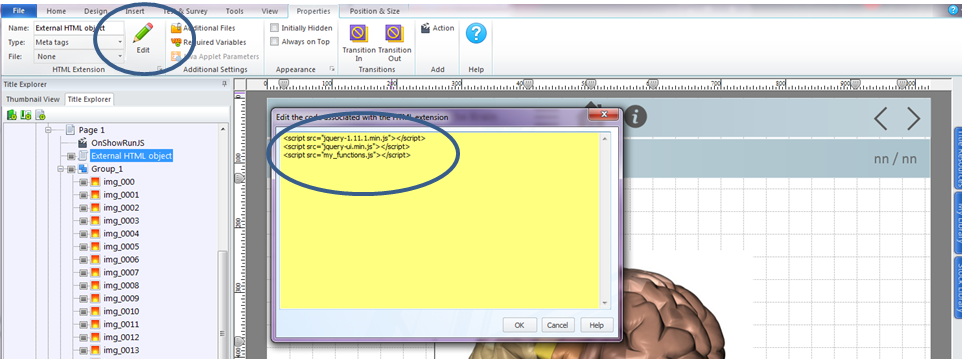
For external code use:
<script src=”https://code.jquery.com/jquery-1.11.1.min.js”></script>
<script src=”http://code.jquery.com/ui/1.11.1/jquery-ui.min.js”></script>
<script src=”my_functions.js”></script>
For internal – these file should be in your Script folder.
<script src=”jquery-1.11.1.min.js”></script>
<script src=”jquery-ui.min.js”></script>
<script src=”my_functions.js”></script>
The same files will to be added to the ‘additional files’, which directly next to the edit.
Once the pop up appears, you can either add each file from your Script folder or add the whole folder.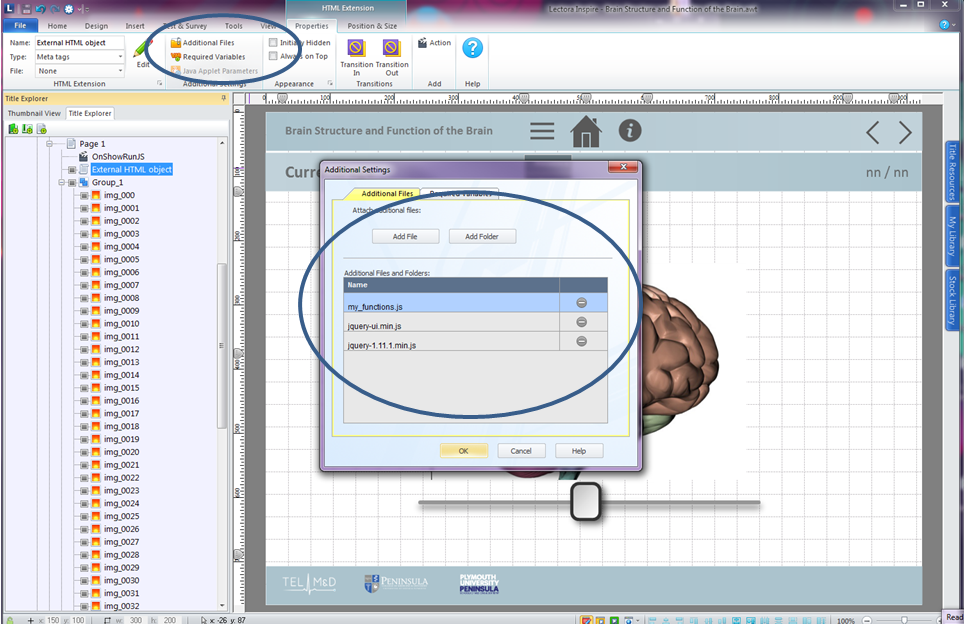
On the page you have your slider, add an action, on ‘show’ ‘runJS’ in the JavaScript box type: init_drag_slider();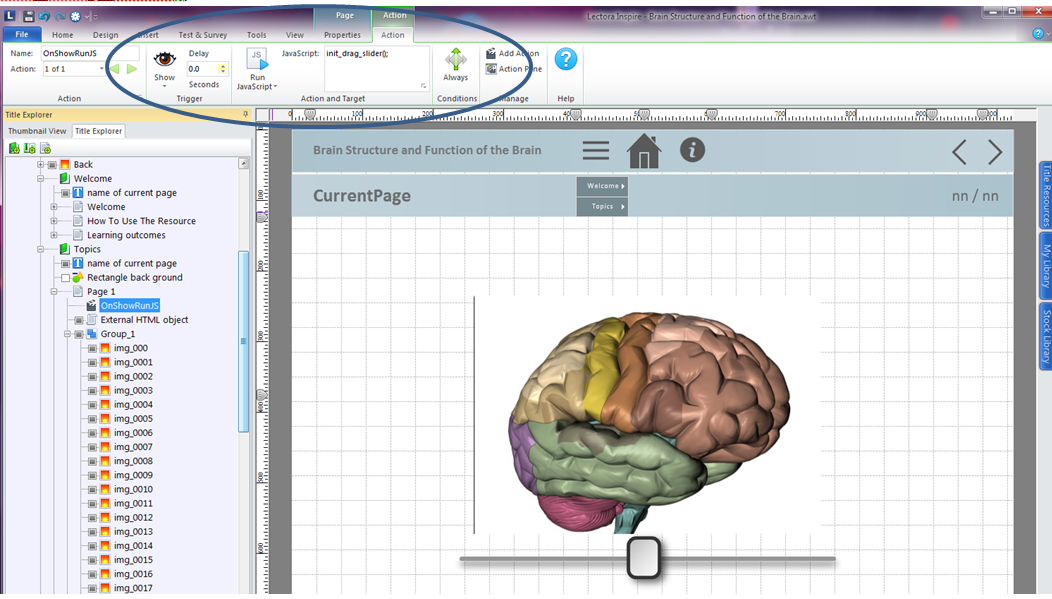
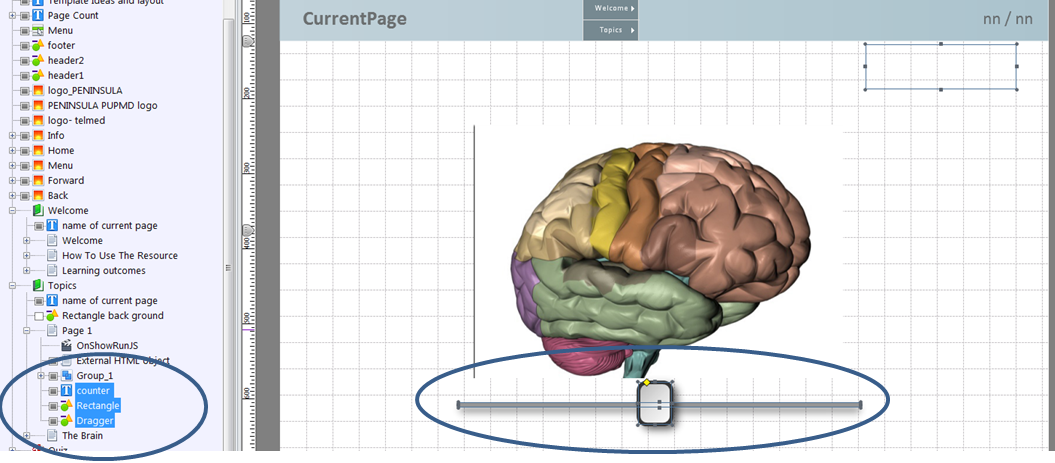
Make your slider/counter/and bar seen.
‘Click On’ the appearance arrow and the CSS class will pop up. Enter the name of your object. For this example I have chosen the counter, therefore I named it counter. All the objects such as the slider and images will need to be named.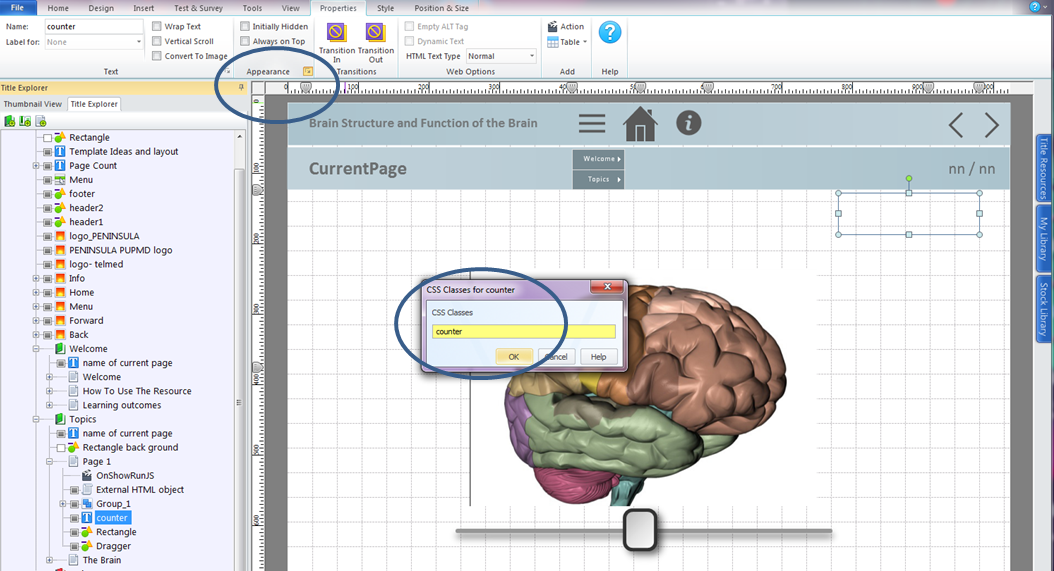
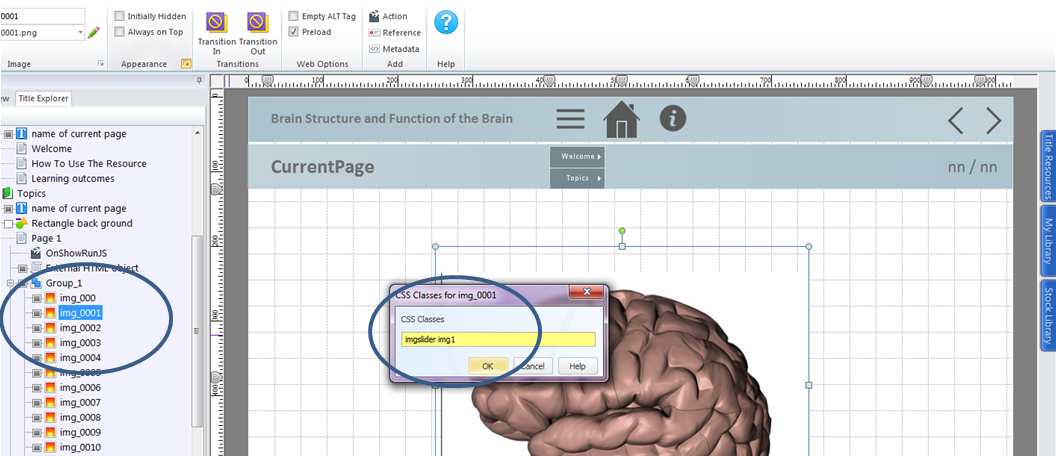
Each image will require a name within the class, as shown above. I haven’t found a quick way of doing this part yet so having 70 images is somewhat slow going.
Now test your Lectora project and see the magic work.
Trouble shooting:
Check that you are pointing to the correct folder and are using the correct files
Check you have all 3 in you edit HTML Extension
Check you have added all 3 files to the ‘additional files’ area
**Note When updating the function file.. Saving isn’t good enough you need to add the function file again to the additional files and remove the old version, by clicking replace when promoted.