This blog will provide instructional information on how to add Groups to Form2.
Form2 – The definition of why we use groups and naming protocol.
Form2 groups are required to allow students, admin and tutors to view forms. If a form has no group(s) attached to it, no one can access the form unless via a web-link. By using groups we can control which year groups and schools can access the forms.
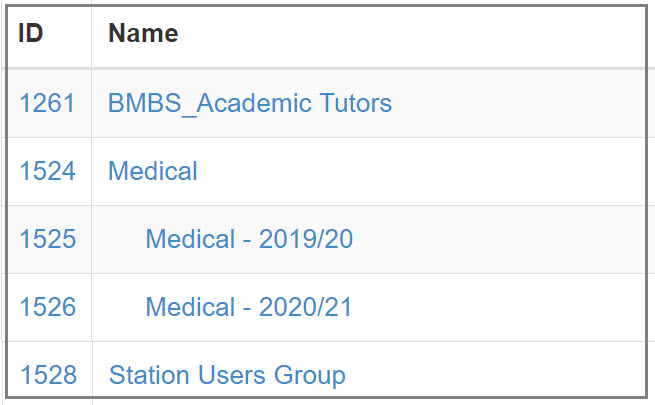
The naming protocol that we use for each group features the programme (e.g. Medical/Dental) and the graduating year. For example ‘Medical 2019/20’ will be students in Medical School, graduating in the academic year 2019/2020.
Task 1
Create a Group
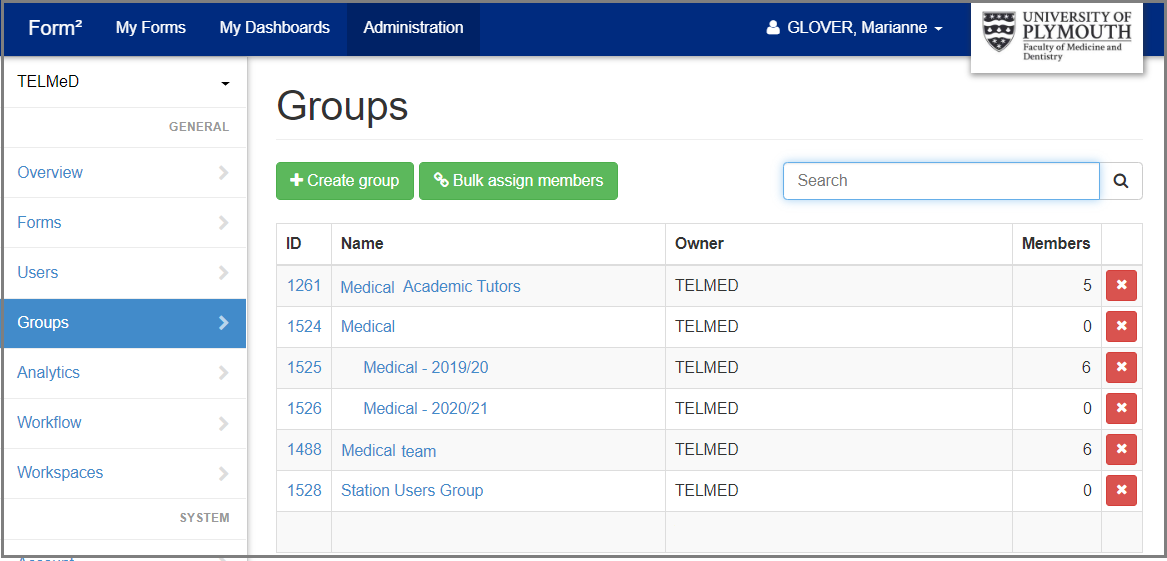
- Access Form2 > Administration > Groups
- Select the green button ‘+ Create group’.
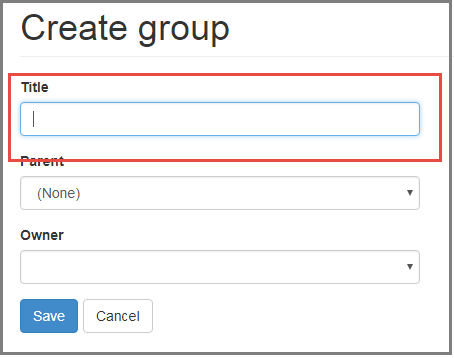
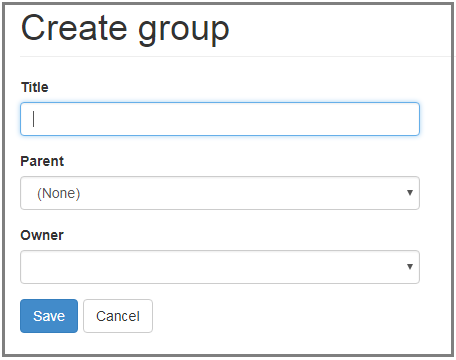
- Enter the groups’ name in the ‘Title’ field.
- The first main group should reflect the whole of the department/school. This group will become the parent (more information on parent groups in the next task)
- I will call this group Medical.
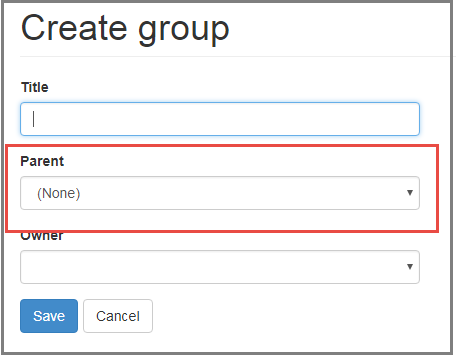
- Leave ‘Parent as (None).
- Owner, change to your department user.
- For more information about adding a user use the blog ‘how to create a user’.
- Save
Task 2
Create a Child Group
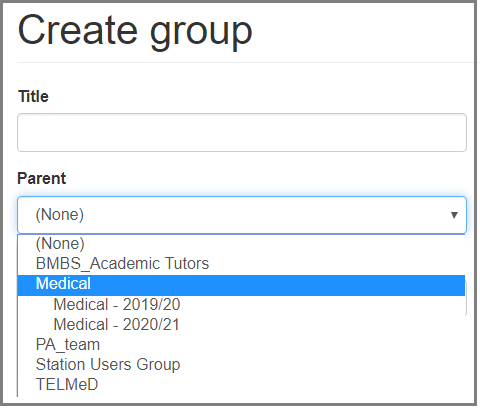
Note: Creating a child group will be done when you select a group (medical) from the parent drop-down box. The parent will hold no members (in our case students). The different child groups will hold students enrolled in different years.
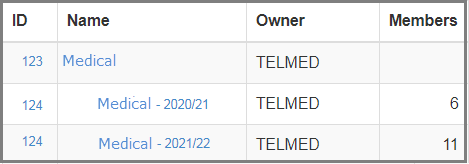
When creating forms, there may be forms that are intended for all students, the form should use the parent group ‘Medical’. Other forms relative to year groups, select the corresponding year group.
The Title should reflect the programme and the graduation year or the associated group such as admin/tutors etc, protocols are important to keep group names easy to recognize.
- Access Form2 > Adminstraion > Groups
- Select the green button ‘+ Create group’.

- Enter the group’s name in the ‘Title’ field.
- Select the parent group, for this example, Medical.
- Owner, change to your department user.
- Save
Task 3
Bulk assign members, into a group.
Note: Bulk assign members, is a different way of assigning members to a group.
- Access Form2 > Administration > Groups
- Click the ‘Bulk assign members’ button.

- Enter the user’s email address
Note: Either if your adding individuals or groups, you need to enter email address/es into the box ‘User’.
Separate users by placing 1 person pre-line.
Note: The red writing is informing you the person you are adding needs to be a user in Form2.
- Select the Group/s, on the right.
The child group will appear under the parent, shown on the right.

Task 4
Adding Users to a group.
- Click the group you wish to add a member.
- Click the ‘Bulk assign members’ button.
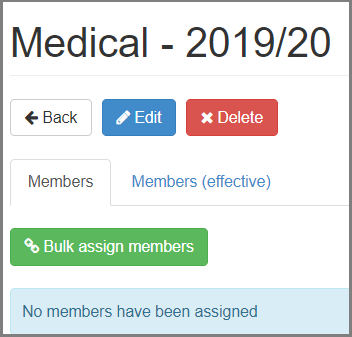 Enter the users’ email address
Note: No groups are shown on the left because you are within a group.

Adding a StationGroup summary.
Task 5
- Access Form2 > Administration > Groups
- Select the green button ‘+ Create group’.

- Enter the groups’ name in the ‘Title’ field.
- Parent None
- Owner, change to your department user.
- Save
- Add your users.
Now you have reached the end of this blog, create your own groups for your department.
I hope you found this blog useful. Feel free to share this blog your findings, experience and issue you come across while following it.

