— This post was written by Elizabeth Seymour —
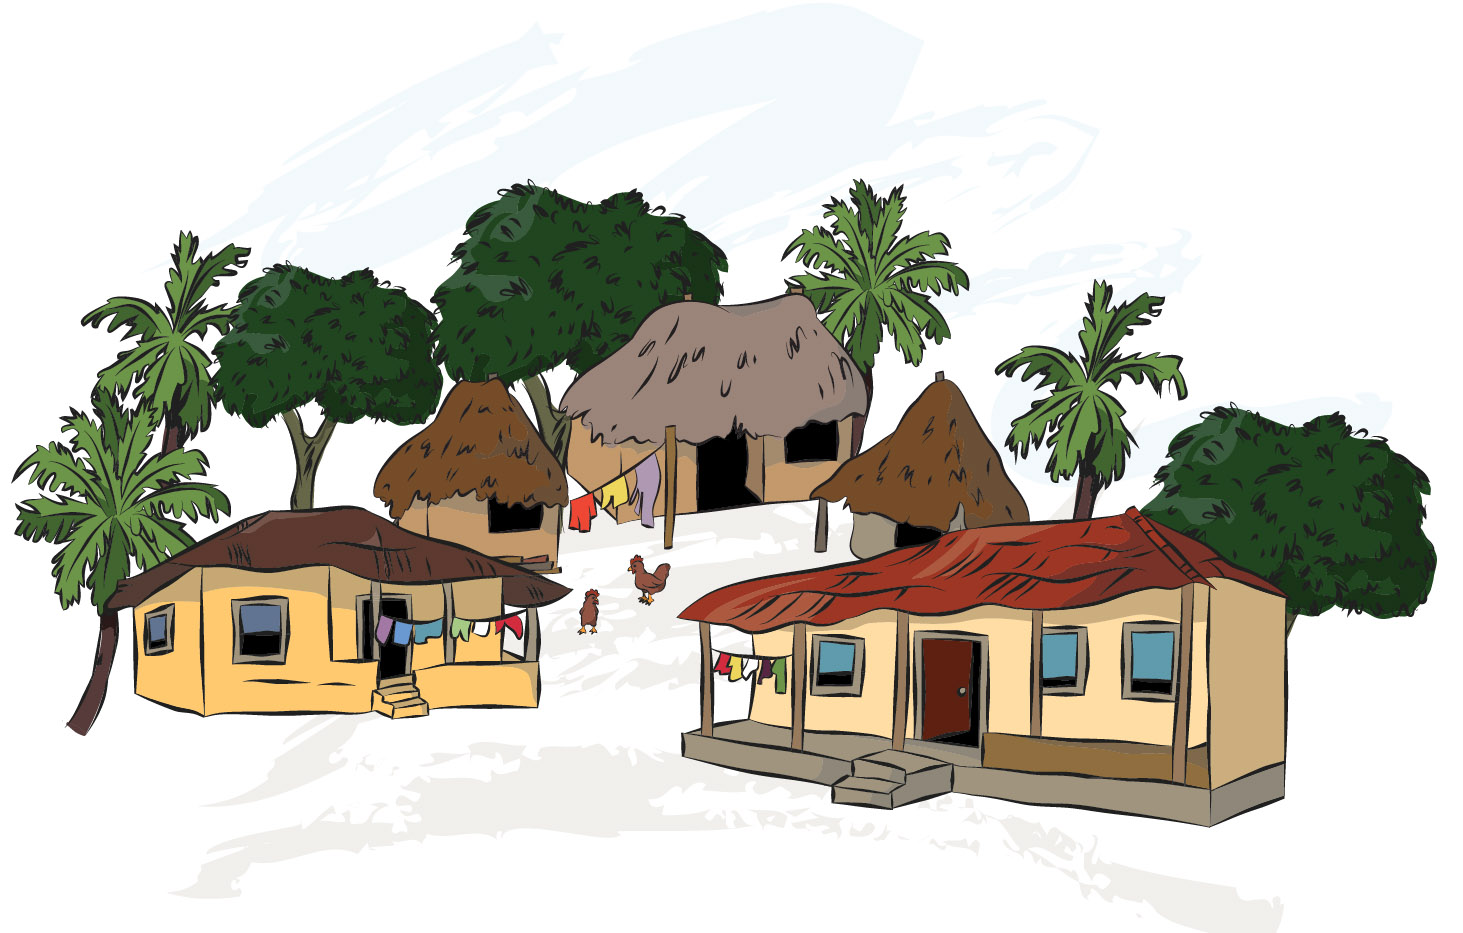
As the illustrator for the iCARE project, I have had the task of recreating a rural village from Tonkolilli in Sierra Leone in a recognisable, and yet comic-book fashion – quite a challenge!
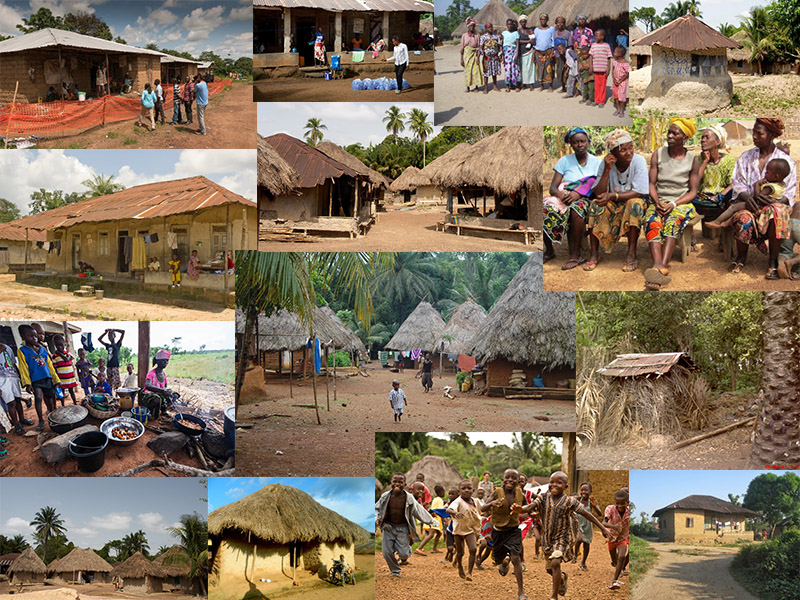
Our contacts in Masanga Hopsital were able to give me a little information regarding descriptions of the local villages but didn’t have any photographs they could send me, so I had to use Google Image searches and images from traveller’s blogs for a visual reference, comparing each image with the descriptions our colleagues provided, and compiled a mood board of images I liked.
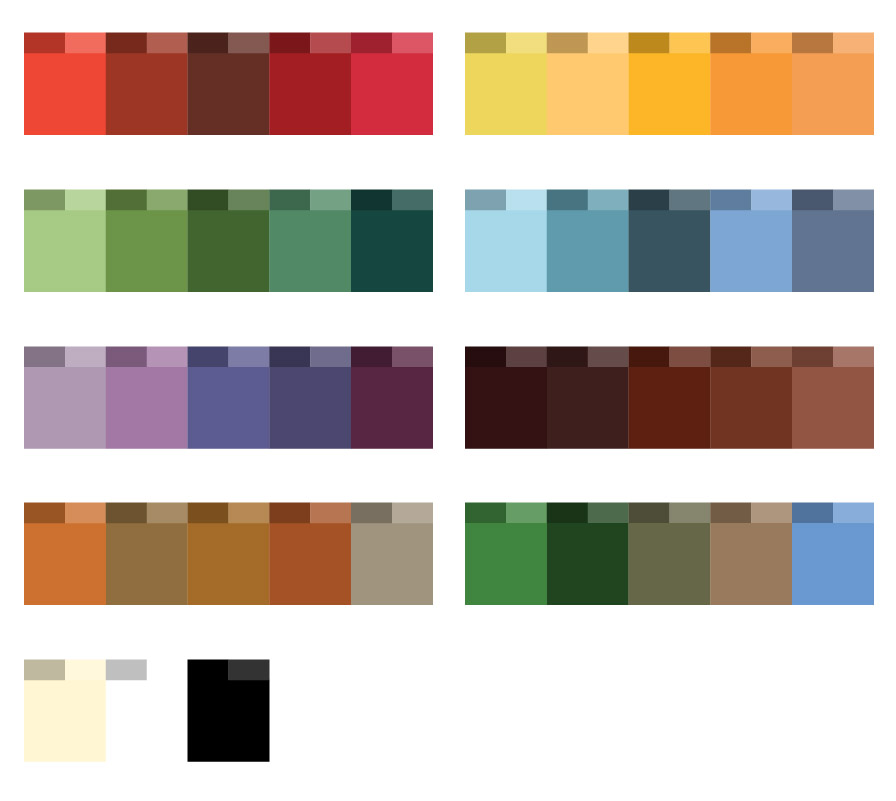
From this, I put together a colour palette to use in all of my illustrations:
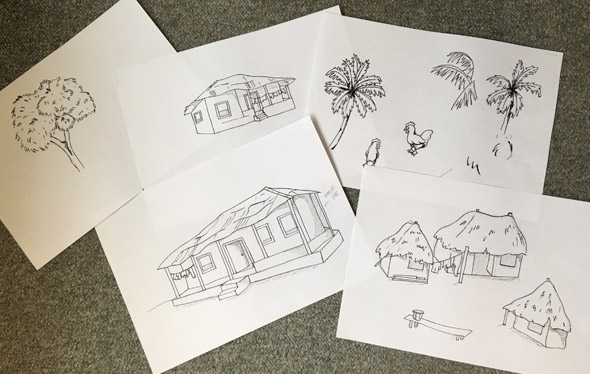
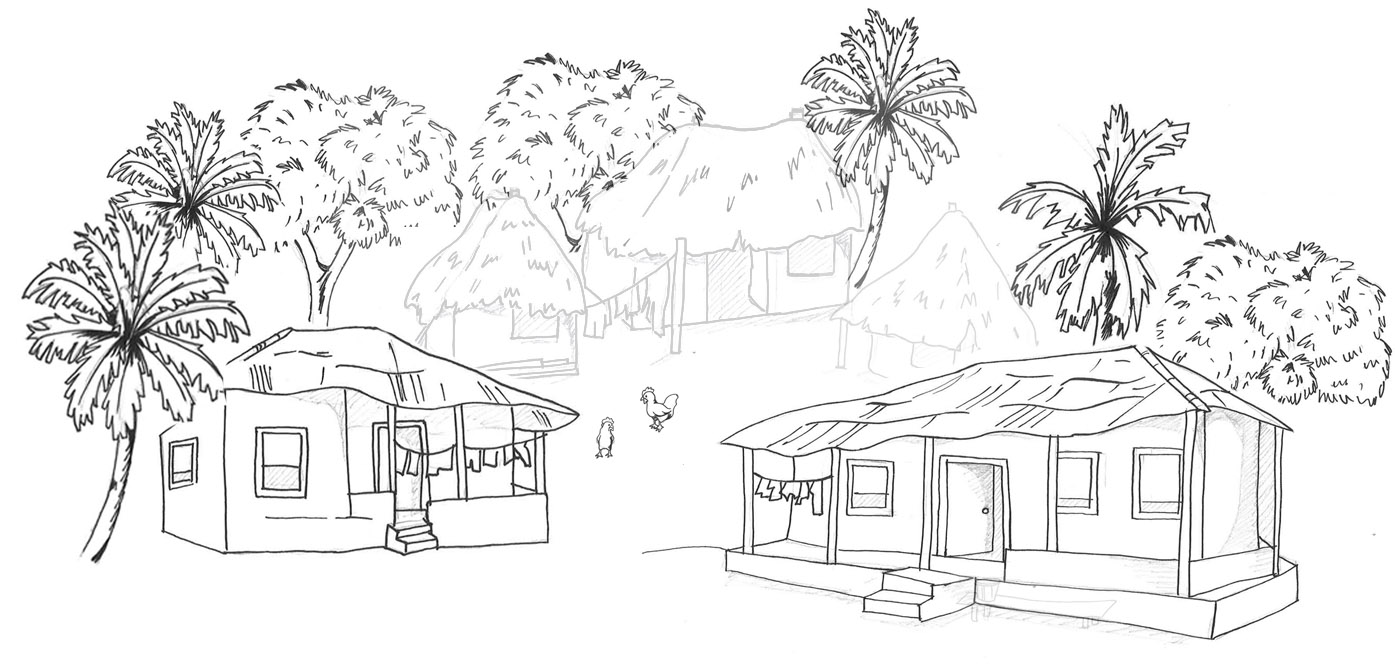
From my moodboard, I then identified a collection of assets I would need to draw; trees, houses, washing lines and a few chickens. For the village I drew my images out on paper first (although to save time later in the project I skipped this step and went straight to drawing in Adobe Illustrator).
I scanned these images into Photoshop, were I played about with the composition of them until I had a village layout that I was happy resembled the feeling of my mood board.
Then I moved my scans into Adobe Illustrator, where I traced each one individually (so I could reuse any assets in later scenes as required). The process I followed to produce these illustrations was slightly different to my usual Illustrator workflow, mainly in an effort to speed up the image production for such a tight deadline, but also because I usually work in a more typical “clean” vector style, and this project called for a comic-book style.
The steps were as follows:
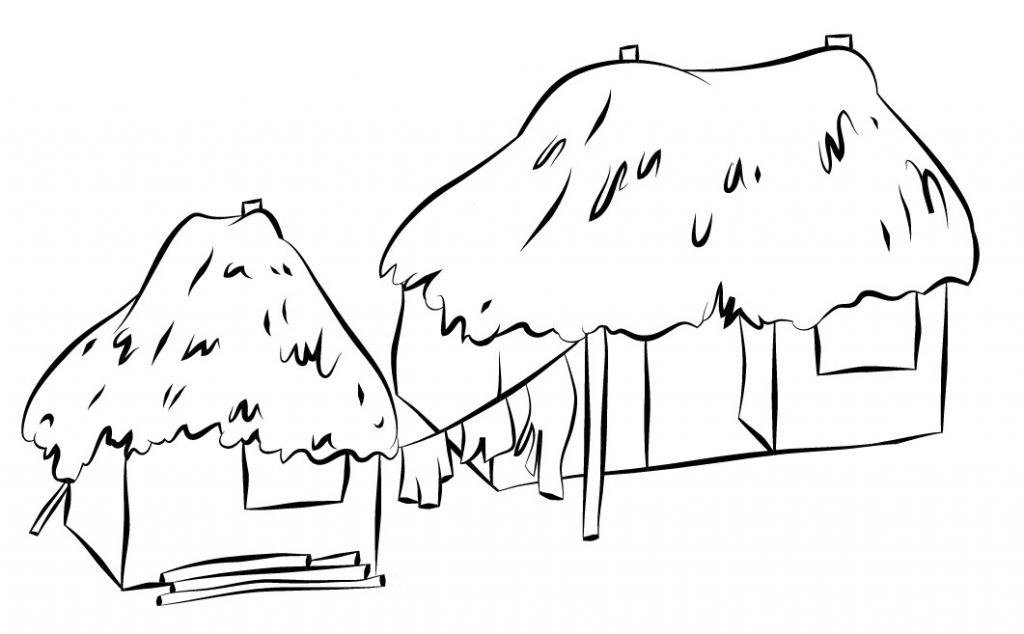
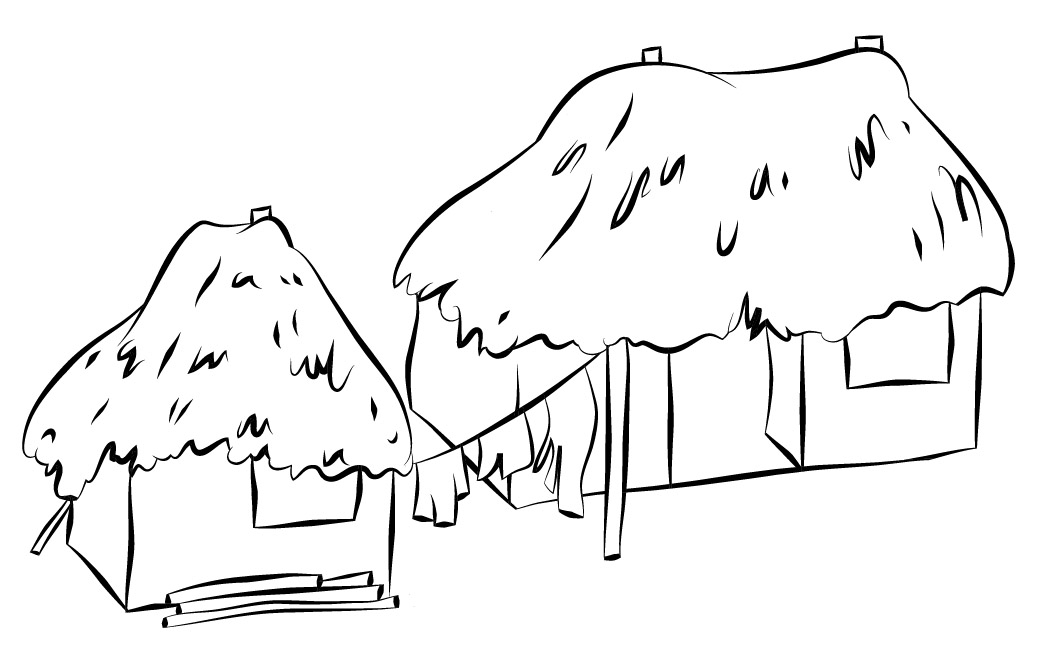
- Trace or draw the outlines of the asset.
- I used a Wacom tablet to get an authentic hand-drawn feeling to the images.
- I also used the awesome CKhair brush for my strokes (which you can download for free with a DeviantArt account) to get a more comic-book style outline.
- I deliberately overshot all my lines in order to ensure that I created crisp corners where lines met to work better with Live Paint in later steps, and adjusted the thickness of any strokes where required to create the desired effect.

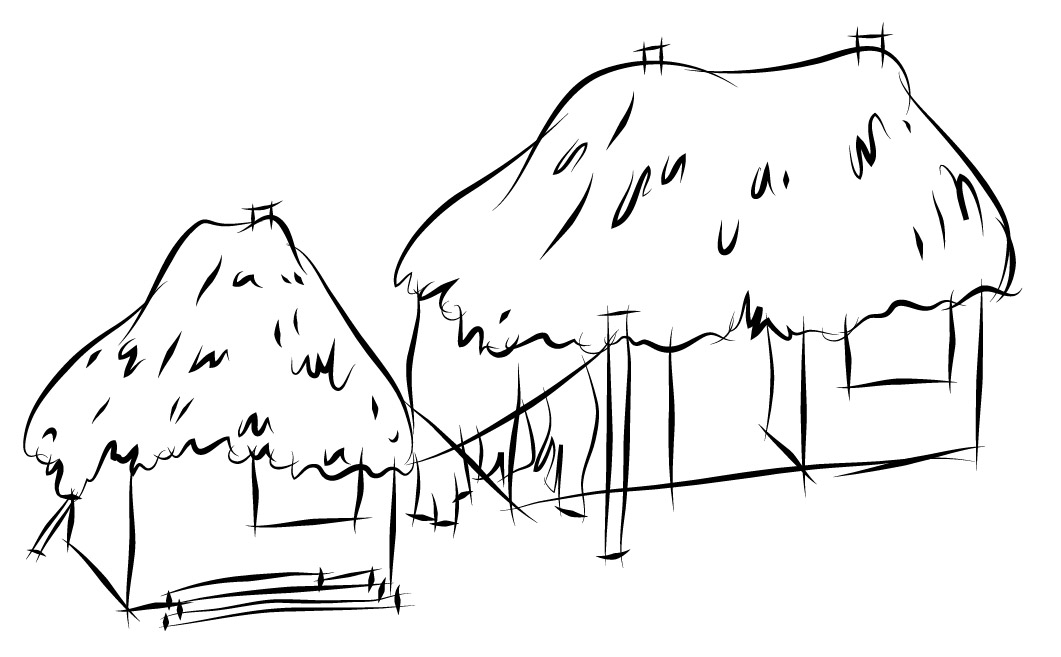
- Clean up the outlines.
- I first copied this whole layer, in order to keep a copy of the strokes so I could go back and edit them at any point I needed to.
- On my new copy layer, I selected my entire drawing and expanded it.
- I then enabled live paint, and immediately expanded again in order to automatically slice the lines up into their component parts.
- I then cleaned up the lines, deleting all the overshoots and ensuring the all lines that needed to touch did so.
- Then I re enabled live paint, and block-coloured the image using my colour palette.
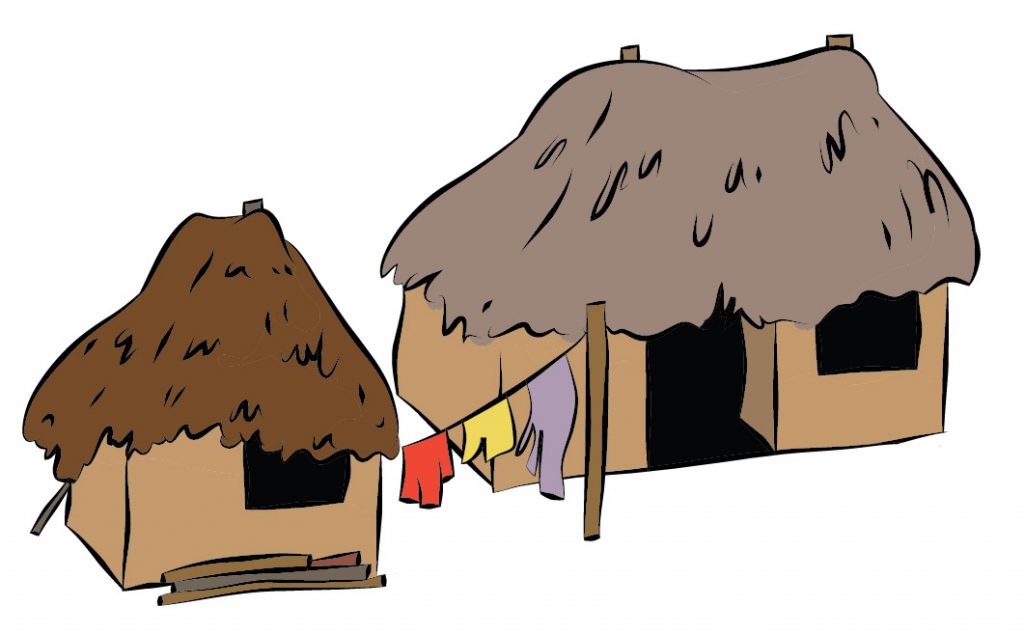
- The final step is to add shading.
- Expand out of live paint.
- Select the parts that you wish to shade (I usually do one colour at a time).
- Draw areas of shading using the knife tool (ensure that you begin and end crossing an edge to cut properly.)
- Set the shader area to the darker shade of the colour from the palette.


Then the final step to creating my Tonkolilli village was to position my new vector sketches in a similar composition to that which I had planned out in Photoshop, and it was complete!